
MEASURING INTERNAL GEOMETRY AND THICKNESSES
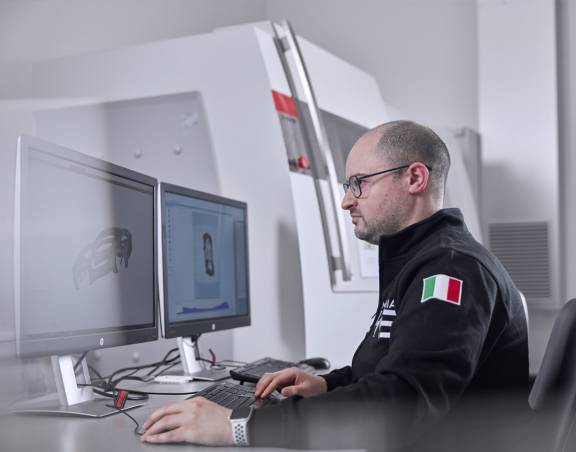
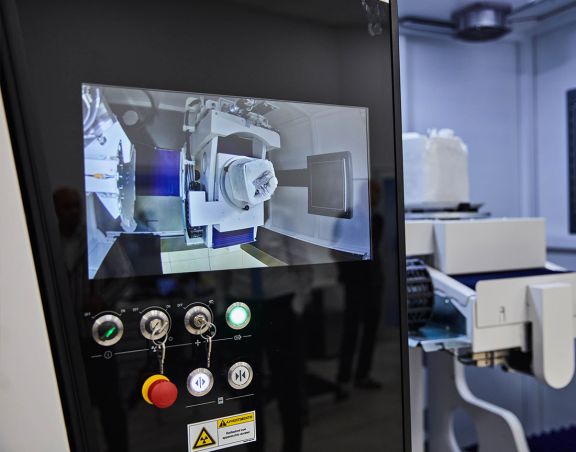
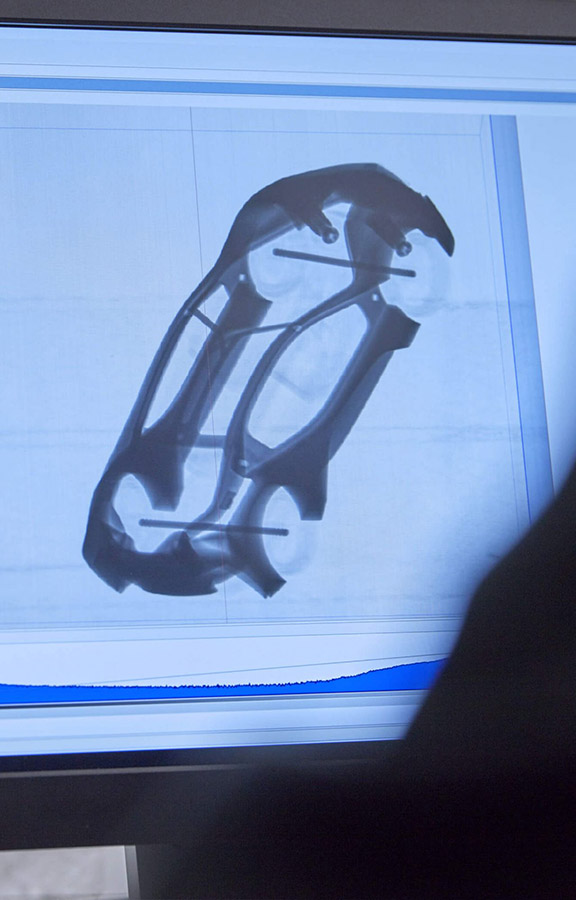
Thanks to sophisticated X-ray scans, performed via CT ZEISS Metrotom, we are able to provide quantitative measurements of internal components and of any defects of plastic or light metal samples.
For each component or flaw we can obtain any dimensional value (length, diameter, etc), as well as detect its position within a specific reference system.
For each component or flaw we can obtain any dimensional value (length, diameter, etc), as well as detect its position within a specific reference system.
DIMENSION ANALYSIS
- Comparison: detects differences from the CAD model or main part by highlighting them by comparison using a defined colour scale: 'thermal';
- Dimensions: verifies the exact dimensions of internal and external elements, even complex ones.
- Thickness analysis: highlights the wall thickness of internal structures in different colours.
- Tool and process optimisation: provides information on the condition of tools and the production process.
- Development and reverse engineering: creates a point cloud in .STL format which then allows CAD modelling by generating 3D surfaces in .STEP or .IGES format (reconstruction of the mathematical model of surfaces and internal volumes).
- Metrology analysis of assembled parts composed of different parts and materials (material mix) allowing the individual component to be measured or re-engineered.


